
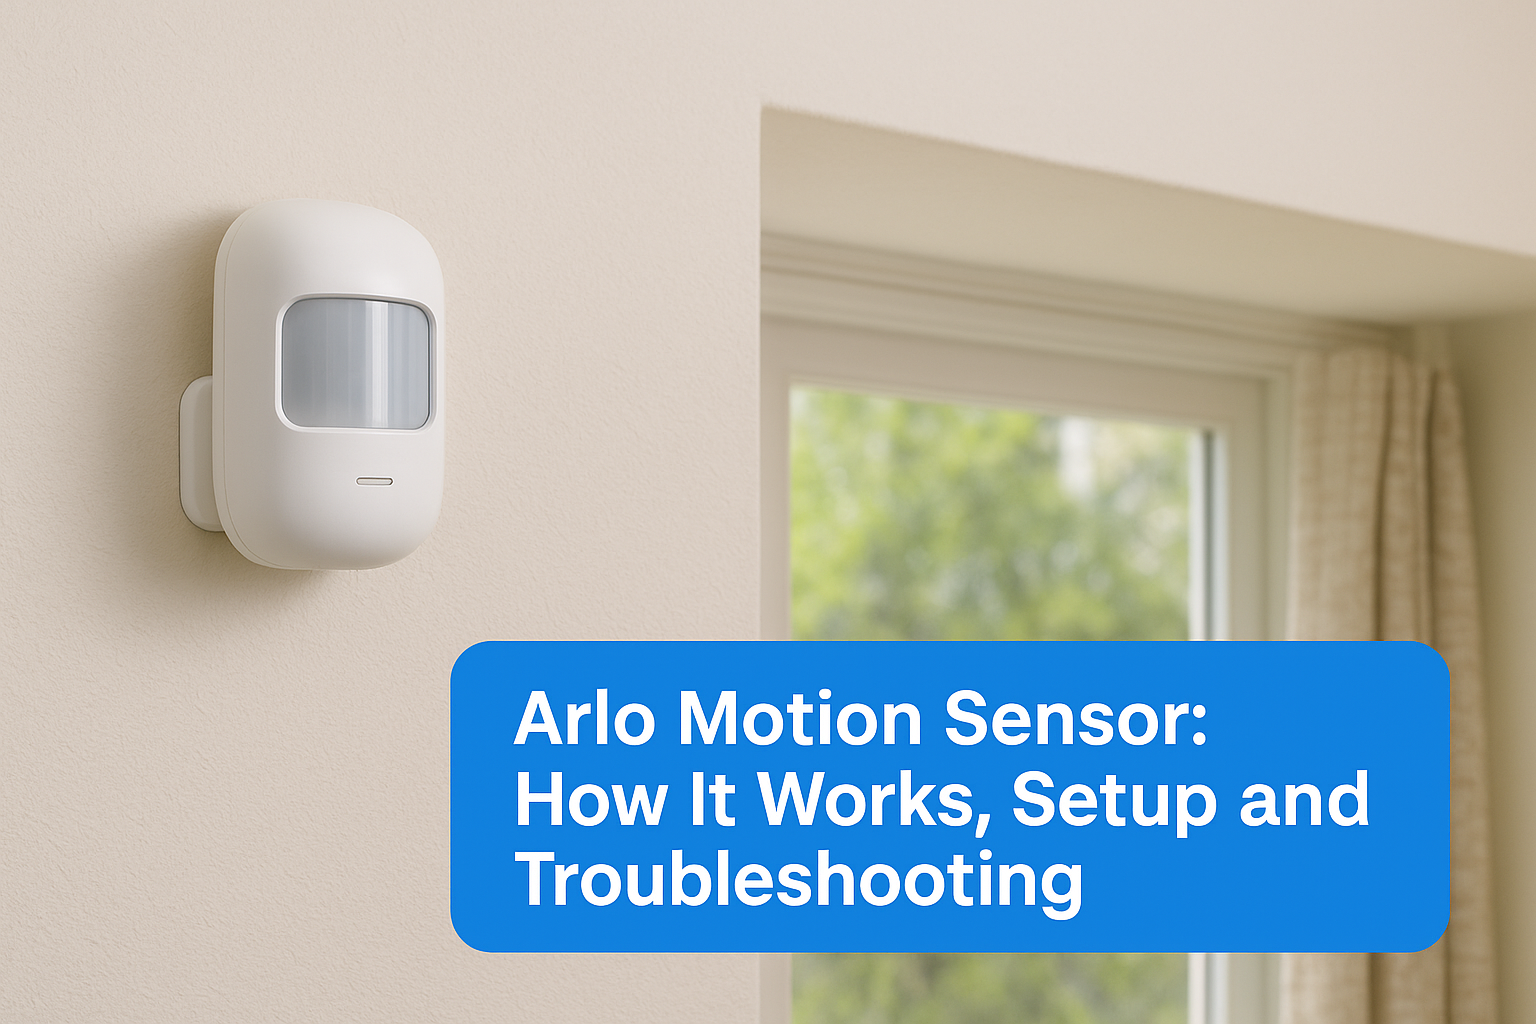
Motion detection plays a critical role in paranormal investigation, it’s how you know something moved in an empty room when nothing should have. The Arlo motion sensor, originally designed for home security, has become a go-to tool for ghost hunters and researchers who need reliable activity monitoring during investigations. At Haunt Gears, we’ve tested and reviewed dozens of detection devices, and Arlo’s sensor lineup consistently earns attention from our community.
But choosing and using one isn’t always straightforward. Whether you’re trying to figure out which Arlo sensor fits your setup, how the motion detection technology actually works, or why your sensor keeps triggering false alerts at 3 a.m. (paranormal or not), the answers matter before you invest your money or trust your evidence to it.
This guide breaks down the Arlo All-in-One Sensor and Arlo’s broader motion detection system from top to bottom. You’ll learn how the hardware detects movement, what each model offers, and how to set it up correctly. We also cover the most common troubleshooting issues and how to fix them, so your gear works when it counts.
Why Arlo motion sensors matter for real security
The Arlo motion sensor isn’t just another piece of consumer tech sitting on a shelf. Whether you’re securing a property, documenting a scene, or running a paranormal investigation, you need a sensor that responds accurately and consistently. A missed trigger or a false alert can compromise your evidence, and in any high-stakes situation, that gap costs you.
More than a home security gadget
Most people associate motion sensors with porch lights or basic burglar alarms, but Arlo’s system goes well beyond that. You get real-time alerts pushed directly to your phone, so you know the moment something triggers the sensor, no matter where you are. That immediacy changes how you monitor a location, especially when you’re watching multiple rooms during a long overnight investigation.
The ability to receive instant alerts means you can respond to activity in the moment, not just review footage after the fact.
Arlo sensors also integrate tightly with the Arlo Secure app, which logs every motion event with a precise timestamp. That log becomes a searchable activity record you can cross-reference against other data points, whether that’s an EMF spike, an audio anomaly, or a thermal reading captured at the same moment.
What separates Arlo from basic sensors
Basic passive infrared sensors detect heat movement and that’s the end of it. Arlo builds on PIR technology with additional layers including video verification, customizable activity zones, and adjustable sensitivity thresholds. You can define specific areas within a camera’s field of view and tell the sensor to only trigger alerts from those zones, which cuts down significantly on irrelevant motion events like passing vehicles or shifting shadows.
This level of control makes Arlo genuinely useful in complex environments where detection precision matters more than simple presence detection.
How Arlo motion detection works
The Arlo motion sensor uses passive infrared (PIR) technology as its foundation. PIR sensors detect changes in infrared radiation, essentially heat signatures, that occur when a warm body moves through the sensor’s field of view. The sensor reads the temperature difference between a moving object and its background environment, then fires a trigger when that difference crosses a set threshold.
Video confirmation and smart detection
Most Arlo models pair PIR detection with video analysis to reduce false positives. When the PIR layer detects movement, the camera activates and the system checks whether the motion matches a recognized pattern, such as a person, vehicle, or animal. This two-step verification process means you get fewer alerts from swaying curtains or sudden lighting changes that would fool a simpler sensor.

Pairing hardware detection with video analysis gives you a much more reliable activity log than single-layer sensors provide.
Arlo’s cloud processing handles the smart detection classification on its end, so the local hardware stays lightweight. Your app then receives a labeled notification rather than a generic motion alert, which helps you quickly assess what actually triggered during an investigation without reviewing full clips every time.
How to set up and place an Arlo motion sensor
Setup for the Arlo motion sensor takes about 15 minutes from unboxing to your first live alert. You’ll need the Arlo Secure app downloaded on your phone before you start, since the entire pairing process runs through the app. Open the app, tap "Add Device," and follow the on-screen steps to connect your sensor to your base station or SmartHub.
Choosing the right placement
Placement determines how well your sensor performs. Corner positions at a height of 7 to 8 feet give the PIR sensor the widest possible detection angle, covering the most floor space with a single unit. Avoid pointing the sensor directly at windows or heat sources like vents, since sudden temperature changes will trigger false alerts.

Mounting at corner angles instead of flat walls significantly improves detection coverage for any room layout.
Mounting tips that improve accuracy
Once you’ve chosen your spot, angle the sensor slightly downward so the detection zone covers the center of the room rather than the ceiling. Keep the sensor at least three feet away from air conditioning or heating vents to prevent heat-based false triggers.
During an investigation, place sensors at entry points and hallways where movement is most likely to funnel through. This creates a layered detection grid that logs activity across the path something travels, rather than just a single snapshot location.
How to tune motion settings and notifications
The Arlo motion sensor gives you direct control over how sensitive your detection is and how often your phone buzzes with alerts. You access all of these settings inside the Arlo Secure app under "Device Settings," where you’ll find sensitivity sliders, activity zones, and notification preferences grouped together in one place.
Getting sensitivity and notification settings right from the start saves you from alert fatigue during long investigations.
Adjusting sensitivity levels
The sensitivity slider in the app runs from low to high, and where you set it depends on your environment. A higher sensitivity picks up smaller heat differences, which works well in still indoor spaces but generates more false triggers in outdoor or temperature-variable settings.
Start at a medium setting, run the sensor for one session, then adjust based on how many unintended triggers you get. This trial-and-adjust approach gets you to the right threshold faster than guessing upfront.
Setting up smart notifications
Inside the app, you can toggle push notifications on or off for specific event types, like person-only alerts versus all-motion alerts. Filtering to person detection only keeps your notification log clean and focused, so each alert you receive during a session carries real informational weight rather than noise.
Troubleshooting an Arlo motion sensor not working
When your Arlo motion sensor stops triggering alerts or behaves inconsistently, the fix usually comes down to one of three causes: connectivity, placement, or settings. Start with the basics before assuming hardware failure.
Check connectivity first
A weak Wi-Fi or base station connection is the most common reason sensors stop responding. Open the Arlo Secure app and check the device status indicator for your sensor. If it shows offline, move the sensor closer to your SmartHub or router, then restart both the sensor and the hub by unplugging the hub for 30 seconds.
A stable connection between your sensor and base station is the single biggest factor in reliable motion detection.
Fix false alerts and missed triggers
False alerts typically point to poor placement near heat sources or high-traffic outdoor zones. Move the sensor away from vents, windows, or direct sunlight, then lower the sensitivity slider one notch at a time until the false triggers stop.
Missed triggers, on the other hand, usually mean your sensitivity is set too low or the sensor angle is pointing too high above the active zone. Tilt the sensor downward slightly and raise the sensitivity by one increment. If the issue persists, check Arlo’s official support page at arlo.com/support for firmware updates specific to your model.

Quick recap and next steps
The Arlo motion sensor combines PIR detection with video verification to give you accurate, timestamped motion logs you can trust. You’ve learned how the technology works, where to place your sensor for maximum coverage, how to tune sensitivity and notifications, and how to diagnose the most common issues when something goes wrong. These aren’t optional steps, every piece connects directly to whether your evidence holds up.
Taking these steps in sequence makes a real difference in how reliable your setup becomes. Placement and sensitivity settings do the most work here, so prioritize those before troubleshooting hardware. Once your sensor runs consistently, you’ll build a solid detection grid you can cross-reference against other data from your investigation.
Your next move is to pair your Arlo system with purpose-built paranormal detection tools. Browse the full range of field-tested investigation equipment at the Haunt Gears shop and find gear designed to work alongside your motion sensor during any investigation.
Discover more from Haunt Gears
Subscribe to get the latest posts sent to your email.


Leave a Reply
Your email is safe with us.