
Paranormal work demands disciplined technique; you use clear recording protocols, watch for equipment feedback and power risks, and apply filters to produce verifiable voice captures.
Key Takeaways:
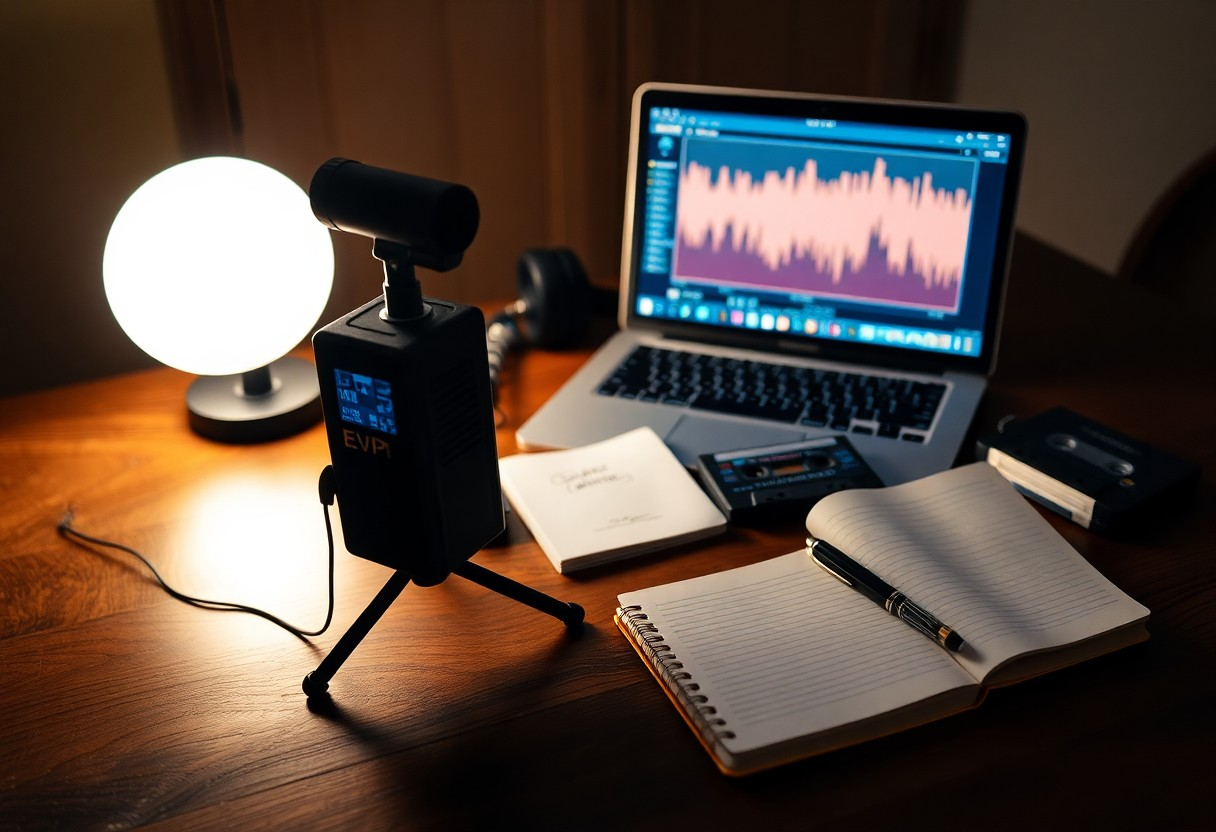
- Use high-sensitivity recording gear with manual gain and uncompressed WAV settings, plus directional microphones, to capture faint EVPs while avoiding clipping and unwanted interference.
- Control the session environment by minimizing background noise, powering down nonimportant electronics, and recording ambient baselines before and after investigations.
- Follow structured protocols: ask clear questions with pauses, run control recordings, and analyze audio using spectral-editing software and headphones to separate anomalies from artifacts.
Selecting the Right Recording Hardware
You should prioritize portable recorders with low noise floors, long battery life, and external mic inputs; cheap units add hiss that can mask EVPs. Aim for high sample rates and manual gain control, and test for background interference before you start an investigation.
Digital Voice Recorders vs. Analog Tape
Digital recorders give cleaner captures, higher sample rates, and easy file handling, while analog tape can introduce tape hiss and degradation that mimic EVPs; you may prefer digital for reliability, but keep tape as an option for authentic artifacts.
Microphone Sensitivity and Frequency Range
Microphone sensitivity dictates the quietest sounds you capture, and a wide frequency range lets you record subtle harmonics; you should balance gain to avoid overload, and prefer omnidirectional mics for room-wide EVP sweeps.
Choose microphones with low rated self-noise (dB(A)) and a high signal-to-noise ratio so you capture faint vocals without floor hiss. You should check sensitivity (mV/Pa), frequency response, and polar pattern; omnidirectional mics catch room EVPs while cardioid reduces nearby interference. Use manual gain, pad switches and a low-cut filter to prevent wind rumble, and avoid preamp overload that causes clipping. For ultrasonic or infrasound work, select specialty transducers, as standard mics won’t record ultrasound reliably.
How to Conduct a Professional EVP Session
Conduct sessions with professional gear, clear protocols, and meticulous logs so you capture usable EVPs; tag files, note conditions, and avoid electromagnetic interference or noisy sites that produce false positives.
Setting Intent and Establishing Baselines
Set your intent aloud, outline expectations, then record ambient sound for baselines; maintain consistent baselines and a quiet, controlled environment to compare later captures.
Effective Questioning Strategies and Intervals
Ask concise, neutral questions and allow 10-30 seconds between prompts so you can isolate replies; avoid leading phrasing and flag any unexpected sounds for review.
Vary your phrasing from open to specific, begin with control queries (name, presence) then progress to detailed prompts; log timestamps and device settings so you can correlate replies across recordings. Use silent intervals long enough to avoid overlap, test different pause lengths, and cross-check with a backup recorder. Mark suspected responses, inspect spectrograms for audio artifacts, and avoid solo night work in unsecured locations where safety risks escalate.
Technical Factors for Audio Clarity
Precision in your gear and positioning improves EVP capture and overall audio clarity; prioritize low-noise mics and quiet gain staging. Any competing signals can mask whispers – check grounding, and see Haunted Circuits: The Curious Case Of Electronic Voice … for hardware examples.
- EVP
- audio clarity
- EMI
- sampling rates
Managing Electromagnetic Interference (EMI)
Shielding nearby cables and adding ferrite beads reduces EMI; you should unplug nonimperative electronics, use battery power when possible, and keep appliances distant to lower the noise floor.
Sampling Rates and File Format Considerations
Sampling at 48kHz or 96kHz and recording at 24-bit in lossless formats preserves subtle EVP frequencies; you should avoid low-bitrate MP3 files that introduce artifacts.
Higher sample rates and bit depths capture greater frequency detail and dynamic range, letting you filter and analyze faint signals without adding processing noise; you should favor WAV or FLAC, maintain consistent sample rates across devices, keep headroom to prevent clipping, and accept larger files in exchange for cleaner forensic results.
Ethical Protocols and Safety Measures
Observe strict consent rules before recording: get homeowner and participant permission, avoid private spaces, and follow Record Ghost Voices with EVP in 15 Steps for method basics; stop immediately if you feel unsafe, and keep a safe exit plan to avoid dangerous situations.
Protecting Personal Energy and Space
Shield your energy by setting clear boundaries, using grounding techniques, and carrying protective items; if sessions trigger anxiety, pause and restore yourself, and never record in locations where you lack permission or feel emotionally compromised.
Professional Standards for Data Documentation
Document every session with timestamps, device specs, environmental notes, and witness statements so you can verify claims; label files clearly, store backups, and flag any anomalous clips for review by peers or experts.
Archive raw files in uncompressed formats (WAV) and create checksums so you can prove integrity; embed clear metadata, maintain a chronological log with GPS/time sync, obtain witness signatures for sensitive sessions, and keep an unbroken chain of custody for evidence-grade clips so you can present findings credibly to peers or investigators.
Final Words
Drawing together soundproofing, high-quality recorders, targeted questioning, and careful analysis, you can reliably capture clear EVP samples while maintaining ethical and technical standards.
Leave a Reply